Shamrock Bars

Happy St. Patrick’s Day!

The one quarter of my heritage took over this weekend and decided that we need an Irish treat. I like to credit my pale skin and my maiden name to that quarter. Apparently there used to be an O’ on the front of our family name that was removed at some point, which is a bummer since it really would have elevated my Irish credibility. 😉

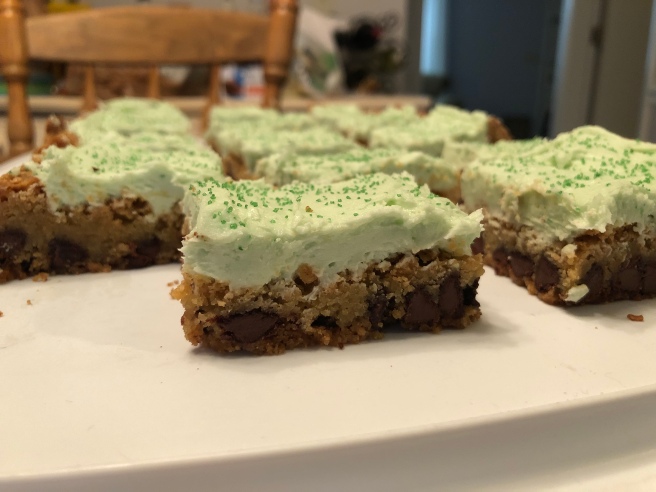
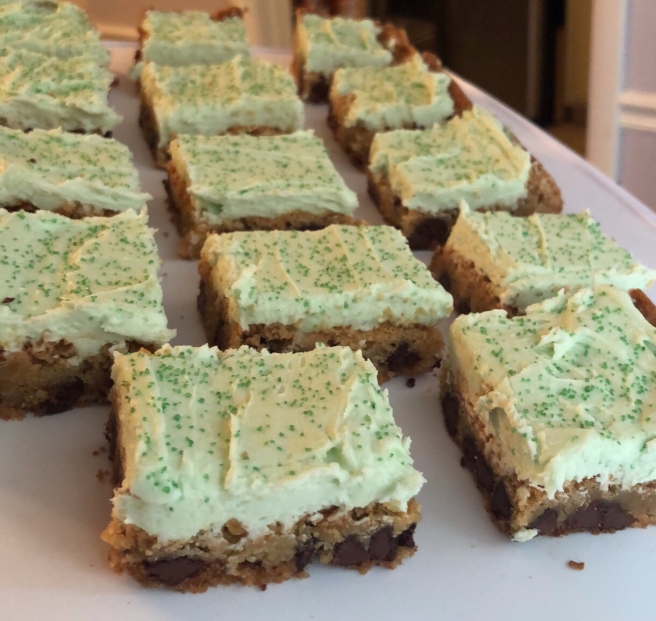
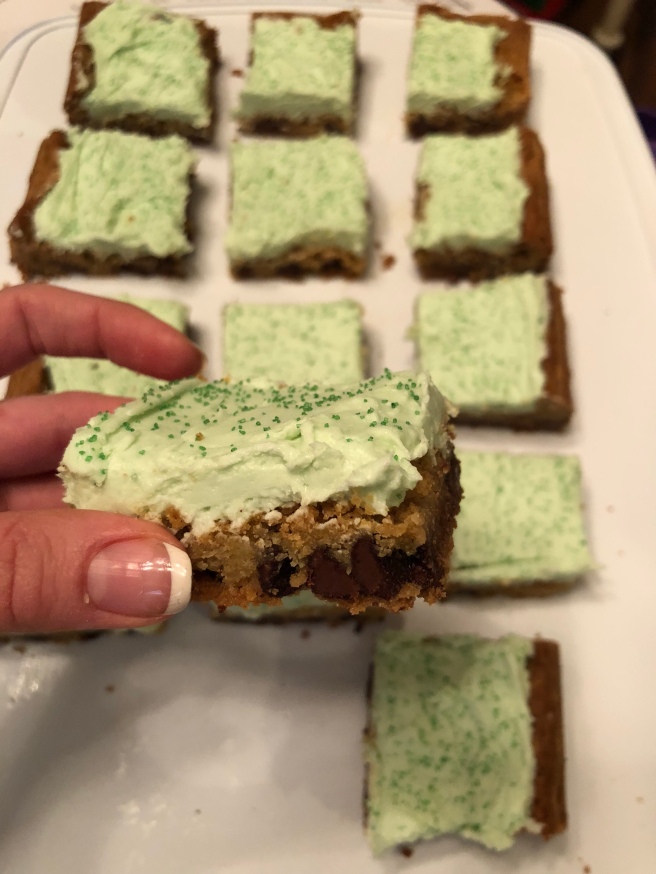
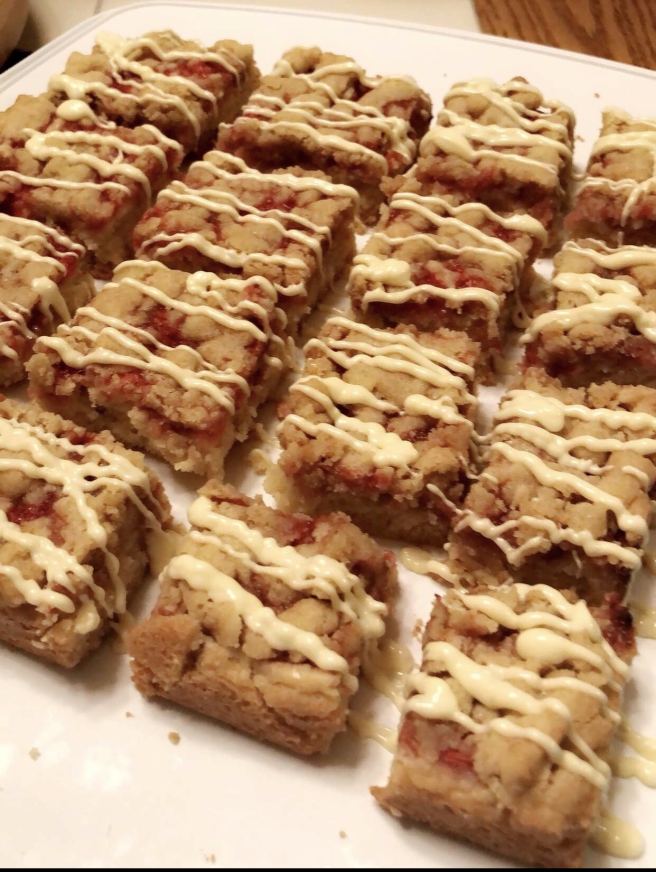
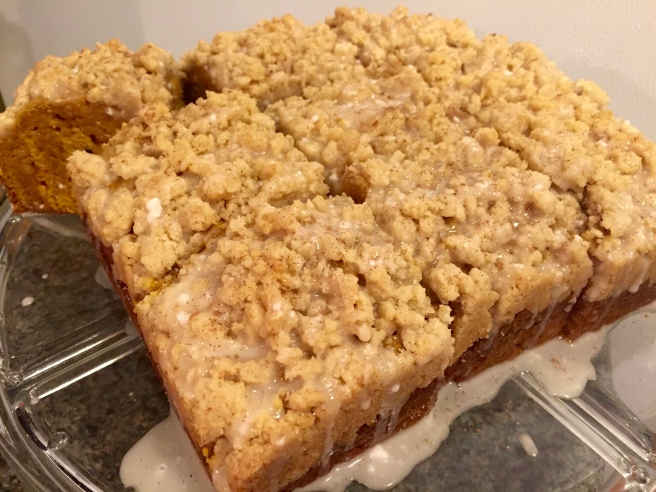
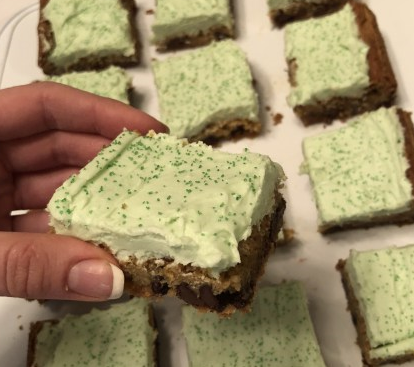
There’s nothing exceptionally Irish about these bars other than that the icing is green, but they melt in your mouth and are a crowd favorite, so you can’t go wrong with them. As usual, I made them gluten-free, which I think adds to the “melt-in-your-mouth” quality, but you’ll be fine to use regular flour as well. I used a large 9″ x 13″ rectangular pan for these but you can cut the recipe in 1/2 or by 1/4 (depending on how thick you want them) if you’re going to use a smaller 8″ x 8″ brownie pan.

2

The timing on cooking these is variable and my oven is somewhat finicky, so I would say set your timer for about 30 minutes if you’re using the same size pan, and then watch from there. Mine took quite a while and I didn’t time exactly, but once it looks like the middle is set and not a gooey dough consistency anymore, you should be alright to take them out of the oven.

Cookie Ingredients:

  • 2 sticks butter
  • 1.5 cups granulated sugar
  • .5 cups light brown sugar
  • 1 tbp vanilla extract
  • 2 large eggs
  • 1 tsp salt
  • 3/4 tbsp baking powder
  • 1/4 tbsp baking soda
  • 2 cups flour (I use Krusteaz gluten-free blend)
  • 1.5 cups semi-sweet chocolate chips

Icing ingredients:

  • 1.5 sticks Imperial vegetable oil spread (you can use regular butter, but I think the fake spread sticks actually make a lighter/sweeter icing)
  • 3.5 cups sifted powdered sugar
  • 1 tsp vanilla extract
  • 1.5 tbsp milk or milk substitute

Directions:

  1. Preheat the oven to 350 degree F.
  2. In your bowl, add softened butter. I like to heat it up in the microwave until the edges start to melt some, but not all the way. Add both sugars and blend together.
  3. Add the vanilla extract and eggs and beat on high.
  4. Add in salt and baking powder and soda and continue to mix.
  5. Measure out your flour and add it a little at a time until fully blended.
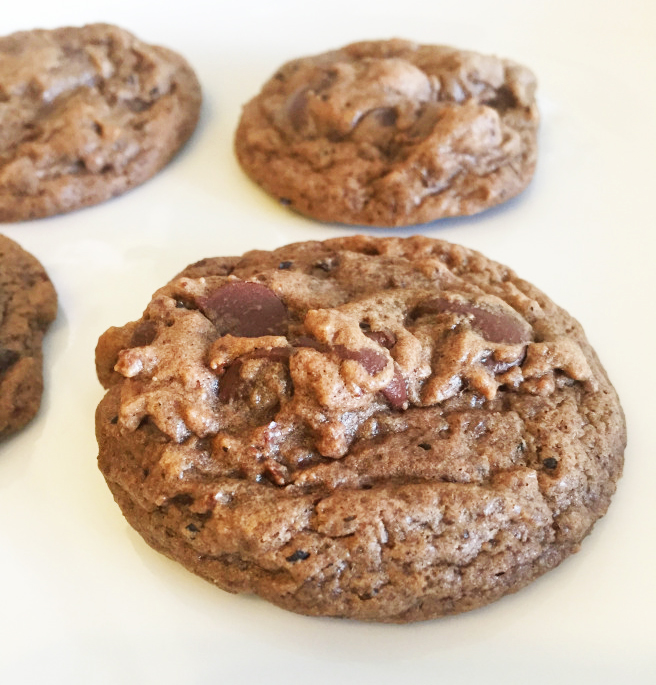
  6. Finally, add in your chocolate chips.
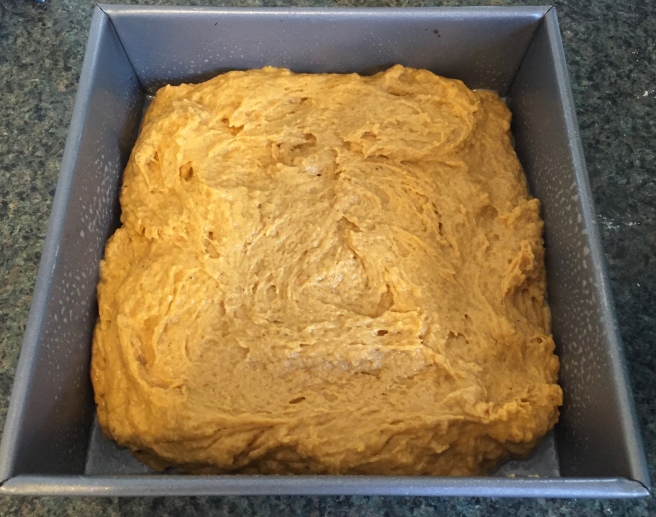
  7. Spray a 9″ x 13″ with PAM and scoop the mixture into the pan. Spread it out evenly and put it in the oven.
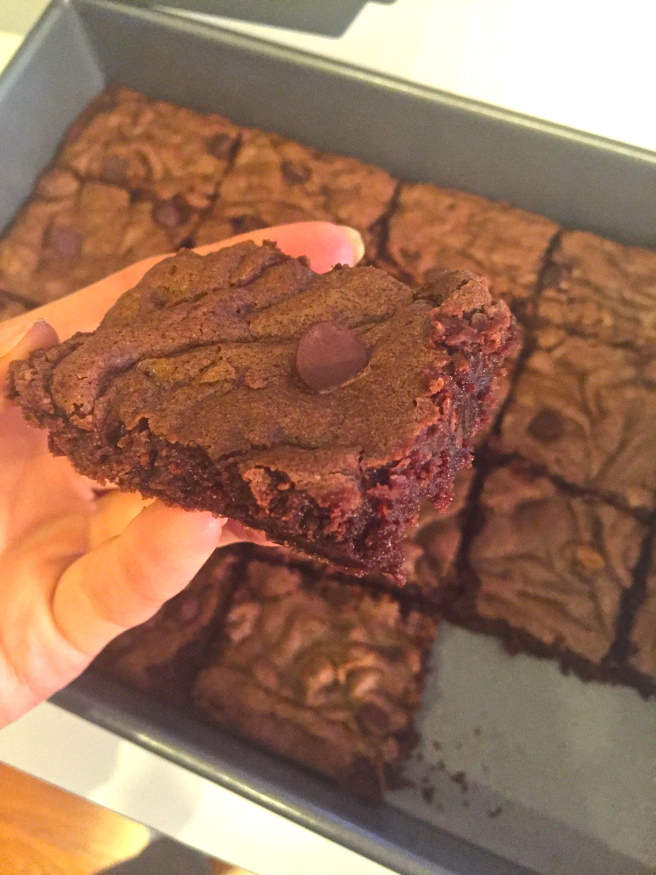
  8. Bake for at least 30 minutes and then watch from there. As I said, my oven is finicky, so results may vary. When the middle looks like it has set and isn’t gooey in the middle anymore, you can remove it from the oven. The edges will be golden brown early on, but make sure the middle is set or else you won’t be able to cut these into bars.
  9. In separate bowl, add the 1.5 sticks of vegetable spread, vanilla extract and 1 cup of the powdered sugar. Use a beater and begin to blend. Add the milk (you can adjust and add more if your butter/sugar isn’t blending).
  10. A little at a time, continue to add more powdered sugar until you’ve added it all. Make sure it is light and fluffy – feel free to add more sugar if you need to.
  11. Let the cookie bar cool COMPLETELY (important unless you want a gooey mess) before adding the icing. Once it’s cool, spread the icing evenly over the bars.
  12. Let them sit for about 30-60 minutes to let the icing set, and then cut them into event bars and serve!

img_2055

img_2048

img_2061

Strawberry Streusel Cookie Bars

I’m still alive!

So…I haven’t posted a recipe since February of this year. That’s not to say that I haven’t been baking because I never really stop. However, I haven’t had much time to post (it’s been a crazy, busy year) and there’s also the fact that my kitchen is just about the smallest kitchen you could imagine. It’s temporary, so some day we will have a nice big kitchen with a lot of counter space. However, in the mean time it means I’m a little limited.

With the holidays coming around, I’m getting the baking itch more and more, and the itch to get creative with it as well. I’m also getting a craving for some delicious comfort food. This weekend I was set on making some type of bar, and wanted something with fruit and a streusel topping. Hence, these Strawberry Streusel Bars were born. They’re  not horribly complicated, even though they look decadent.

streusel3

Also, I believe that a good chocolate drizzle can improve most anything. For these bars I used premium white chocolate chips and a little oil to melt them with, and decorated them using a plastic bag (a super easy way to pipe icing, or do a drizzle on top of treats if you don’t have any professional instruments).

Ingredients:

Cookie bar base:

  • 1 stick softened butter
  • 3/4 cup granulated sugar
  • 1/4 cup powdered sugar
  • 1 tsp vanilla extract
  • 1 large egg
  • pinch of salt
  • 1 cup flour (I use the Kruteaz GF flour blend)
  • 1 tsp baking powder

Strawberry topping

  • 1/2 carton of strawberries
  • 2 tsp sugar

Streusel topping

  • 3/4 cup flour
  • 1/2 cup brown sugar
  • 3/4 stick melted butter

Directions:

  1. Turn your oven on 350F.
  2. Mix the softened butter and sugar together. Add the vanilla extract and egg and beat until everything is blended.
  3. Add the flour, salt, and baking powder and continue to mix until the dough is formed.
  4. Spray an 8×8 brownie pan with Pam and fill it with the cookie bar dough.
  5. Put the pan into the oven to cook for about 6-7 minutes.
  6. While that is starting to cook, make the strawberry topping. Cut about half a carton of strawberries up, add two tsp of sugar and put them in a food processor and pulse until they have a smooth consistency.
  7. Next, make the streusel topping. Put the flour in a bowl along with the brown sugar and the melted butter and mix it all together.
  8. After the pan has been in the oven for about 6-7 minutes, take it out temporarily. The ends will have started to cook and the middle will still be fairly soft, but it’ll be firm enough to add the strawberry and streusel.
  9. First, add the strawberry topping and spread it out evenly on top of the cookie bar.
  10. Next, add the streusel topping. It’ll still be kind of wet, so just break it apart with your fingers and crumble it around evenly on top of the strawberry. You don’t want to cover the strawberry completely, so make sure you leave some room in between.
  11. Bake the bars for about 15-20 more minutes. This might depend on your oven (mine took much longer than I expected, but I think my oven doesn’t get as hot as others). Watch the crumble on top and when it looks like it’s started to cook and is a little golden, the bars should be done.
  12. Pull them out of the oven and let them cool for about 30 minutes.
  13. Slice the bars evenly and remove them from the pan.
  14. Now for the drizzle: I put half a bag of white chocolate chips into a measuring cup along with a splash of canola oil. Usually they say to use coconut oil, which I didn’t have, so that would work as well. This should help the chocolate stay soft and not harden up too quickly.
  15. Put the measuring cup in the microwave for 30 seconds, take out and stir. Put it in for about another 30 seconds and take out and stir again. This time it should be melted.
  16. Pour the white chocolate into a sandwich-sized Ziploc bag. Clip the very end of the bag on the corner so that you have a “piping” bag and (quickly!) drizzle your bars. The chocolate started flowing out of my piping bag very quickly so make sure you’re ready to go. Otherwise you will have chocolate everywhere (it flows more quickly than icing).
  17. Enjoy!

streusel4.jpg

Pumpkin Crumble Coffee Cake

Pumpkin lovers rejoice! It is the season for pumpkin everything and although I try to resist the urge at times, I ultimately end up giving in to the craze each year. This year I discovered Trader Joe’s pumpkin pecan oatmeal (amazing), pumpkin spice cheerios and Private Selection New York Cheesecake Pumpkin ice cream.

I broke my foot a few weeks ago and am still recovering post-surgery so it’s been a little difficult to get around and I’ve had a lot of time at home. Although my mobility is limited, my desire to bake has not diminished and it gives me something to look forward to since I’m trapped at home unable to drive for a while. I have this awesome knee scooter that allows me to get around the kitchen fairly easily and it even has a basket on the front so I can transport my materials. I knew I had to bake something pumpkin-related before the month was over and the cravings diminished. Thus, I decided on a pumpkin crumble coffee cake.

20161016_180646

My husband is currently in grad school and this coffee cake was his on-the-go breakfast for a solid week and a half until it was gone. The treat is highly addictive and a delicious decadent indulgence. It’s perfect for a crisp fall morning alongside a nice cup of coffee.

Coffee Cake Ingredients:

  • 2 1/2 cups all-purpose flour
  • 3/4 cup brown sugar
  • 2 tsp baking powder
  • 1/2 tsp baking soda
  • 1/4 tsp salt
  • 2 tsp cinnamon
  • 1/4 tsp nutmeg
  • 1/2 cup vegetable oil
  • 1 1/2 cup pumpkin puree (not pumpkin pie filling)
  • 1/3 cup milk (I use almond)
  • 2 eggs
  • 2 tsp vanilla

img_4945

Crumble Ingredients:

  • 1/3 cup granulated sugar
  • 1/3 cup brown sugar
  • 1  cup all-purpose flour
  • 1/2 cup unsalted butter, melted
  • 1/4 tsp cinnamon
  • pinch nutmeg

img_4947

Glaze Ingredients:

  • 1 cup powdered sugar
  • 1 tbsp maple syrup
  • Pumpkin pie spice
  • Milk (I used almond)

20161016_180354

Directions:

  1. Preheat oven to 350 degrees. Spray a 8×8 pan with non-stick spray. If you have parchment paper, it may be easier to line the pan with it and make it long enough so the edges stick up and you can pull the cake out of the pan.
  2. In a bowl, blend flour, sugar, baking powder, baking soda, salt and spices.
  3. In a separate bowl, whisk vegetable oil, pumpkin puree, milk, eggs and vanilla until combined.
  4. Make a hole in the center of the dry ingredients, and pour in the wet ingredients. Mix only until it is evenly combined but no more.
  5. Pour batter into prepared pan and set aside.
  6. For the crumble, toss sugar, flour, salt, cinnamon and nutmeg together in a large bowl. Stir in melted butter until crumbly. It will still be wet but you will be able to break it up into smaller pieces. Make sure the mixture is crumbly and, if it’s not, continue to add flour a little at a time.
  7. Crumble the topping over the batter in the pan into an even layer. Bake for 30-35 minutes or until a toothpick inserted in the center comes out clean.
  8. When the cake has cooled and after you can cut it into pieces, prepare the glaze. In a small bowl, combine powdered sugar, maple syrup and add a little milk at a time. Add in spices as desired. Keep it on the thicker side so that it’s not too watery and soaks your cake. Drizzle it over the cake.
  9. Enjoy!

20161016_18091520161016_180340img_4951img_495520161016_180603

Recipe adjusted from Sprinkle Some Sugar.

Soft, Dark Chocolate Espresso Crunch Cookies

Sometimes I’m inspired to create something new just because I have a surplus of some random ingredient in my kitchen that I want to use up. I was cleaning out my candy drawer the other day (yes I have a candy drawer…ok I have two candy drawers) and I found a bag of dark chocolate espresso beans. To be honest, I’m not quite sure why I bought these in the first place as I’m not particularly inclined to eat espresso beans by themselves. Although there are quite a lot of things I’ll eat covered in chocolate so…that’s most likely the culprit.


It was my good friend Tony’s birthday and I was contemplating what type of treat he might enjoy. Tony loves coffee/might be addicted to coffee…thus, I decided to create the dark chocolate espresso crunch cookie and kill two birds with one stone. I highly recommend grinding fresh dark chocolate-covered espresso beans with a food processor, but if you don’t have one, you could possibly use a high-quality blender as well.

I wanted these cookies to be soft and more cake-like than normal cookies, so I replaced one of the eggs I planned to use with just an egg white, which helped. I also used part granulated sugar and part powdered sugar for this combination. These cookies are very soft and almost taste like a chocolate pudding, and the “crunch” is a little understated. How fine you grind the beans will determine the amount of crunch in your cookie.

Ingredients:

  • 1 stick butter (softened)
  • 1/2 cup sugar
  • 1/3 cup powdered sugar
  • 1 egg + 1 egg white
  • 1 tsp vanilla extract
  • 1 cup flour (I use the GF flour blend)
  • 1/3 cup cocoa powder
  • 1 tsp baking powder
  • 1/2 tsp baking soda
  • 1/2 tsp salt
  • 1/2 cup ground, dark chocolate-covered espresso beans
  • 3/4 cup dark chocolate chips

Directions:

  1. Make sure your butter is softened, and stick it in a bowl in the microwave for about 10 seconds so that it starts to melt a little (but is NOT melted).
  2. Put the butter in your mixing bowl and blend it with both sugars.
  3. Add your egg + egg white and vanilla extract.
  4. In a separate bowl, combine flour, cocoa powder, ground dark chocolate espresso beans, baking soda, baking powder and salt.
  5. Slowly add the dry mixture to the mixing bowl a little at a time and blend.
  6. Add in the dark chocolate chips.
  7. Refrigerate the dough if you have time and/or want the cookies to be a little more sturdy/puffier. Otherwise they may flatten out a little bit in the oven (up to your preference).
  8. Scoop the dough into balls and place them on the cookie sheet. Bake for about 7-8 minutes.
  9. Take them out of the oven and let them sit for about 15-20 minutes before removing. Trust me, you will need to let these set or else the cookies will squish when you try to remove them from the pan. They’re very soft and sensitive before they set. I recommend putting them on a cooling rack to completely cool for about an hour.

image67

image66

image70

image77

Gooey, Fudgey Chocolate Brownies with Peanut Butter Chips

The thing I like most about baking is that recipes are not set and permanent. You can always play around with different variations to see what works best, and different ingredients and formulas yield different (and tasty) results.

Last night I decided to play with my brownie recipe and the result was DELICIOUS. First, I would like to thank my Aunt Deb for her continued support of my brownie addiction over the years. Even to this day, any time I come to her house, she always has brownies in the oven waiting for me. Last time she even bought the gluten-free mix. She also added something new that’s become a must-have in my brownies: peanut butter chips. If you have not tried them in brownies before…oh my goodness…it’s life changing. Another thing she did was use butter instead of oil and I remember how thick and fudgey they were.

image

For this recipe I took my old brownie recipe, Rich, Fudgey, Chocolate Chip Brownies with Bourbon-soaked Pecans, and decided to swap out the oil for butter and add the peanut butter chips. I’ve always made these brownies with oil, but I wanted a gooey-er (is that a word?), fudgier brownie. For me, the difference between these two versions is this: in the oil recipe I can really taste the sugar, and the butter version is much thicker and the chocolate flavor is stronger.

image

As I’ve told you before, I’m a chocolate-fiend and brownies are the ultimate dessert for me. If I had to choose one last meal on Earth, it would be a brownie sundae…no doubt. I made these brownies gluten-free with substitute flour, but you can use regular flour as well and they will turn out just as good.

Ingredients:

  • 1 stick melted, unsalted butter
  • 1 cup white sugar
  • 1 tsp vanilla extract
  • 2 eggs
  • 1/2 cup all-purpose flour or GF flour blend
  • 1/3 cup unsweetened cocoa powder
  • 1/4 tsp baking powder
  • 1/2 tsp salt
  • 3/4 cup chocolate chips
  • 3/4 cup peanut butter chips

Directions:

  1. Preheat oven to 350 degrees. Spray a 9×9 baking pan with non-stick spray.
  2. Mix together the melted butter, sugar and vanilla. Beat in eggs.
  3. In a separate bowl, combine the cocoa, flour, baking powder and salt. Gradually stir this into the egg mixture until well-blended.
  4. Stir in chocolate chips by hand, as well as the peanut butter chips, if desired.
  5. If you like your brownies gooey and slightly under-done (a.k.a. the best kind of brownies), bake for about 20 minutes until the edges look cooked and start to pull away from the pan. A toothpick inserted in the middle will still come out a little gooey and that is ok. if you like them a little more well-done, bake for an additional 5-8 minutes.
  6. Let cool for about an hour and then cut into squares.
IMG_0024IMG_0020
image44

Rich, Fudgy, Chocolate Chip Brownies with Bourbon-soaked Pecans

Does the title of this post make you want a brownie already? Good…because these are truly that delicious and deserve more than just one adjective.

This post was supposed to be about pumpkin pie fudge, which I attempted to make for a tailgate this week. However, like many first-time experiments, it was a big flop. I promise to try again soon (and succeed next time).

I have been making these brownies since I first found the recipe many, many years ago. I’ve had my fair share of brownies over the course of my lifetime and this particular recipe is the one that I continually go back to over and over again.

image image2

I believe in adding chocolate chips to everything, but in this case it is up to your personal preference. I added those as well as some bourbon-soaked pecans and the result was fantastic. I have always traditionally made these with regular flour, but I was delighted to find that they turned out just as good with gluten-free flour. So I can tell you first-hand that I’ve tried both and you can make them whichever way works for you.

image5

Ingredients

  • 1/2 cup vegetable oil
  • 1 cup white sugar
  • 1 teaspoon vanilla extract
  • 2 eggs
  • 1/2 cup all-purpose flour or GF flour blend
  • 1/3 cup unsweetened cocoa powder
  • 1/4 teaspoon baking powder
  • 1/4 teaspoon salt
  • 1/2-1 cup chocolate chips (optional)
  • 1/2 cup bourbon-soaked pecans or walnuts (optional)

Directions

  1. Preheat oven to 350 degrees. Spray a 9×9 inch baking pan with non-stick spray.
  2. Mix together the oil, sugar, and vanilla. Beat in eggs.
  3. Combine flour, cocoa, baking powder, and salt in a separate bowl; gradually stir into the egg mixture until well-blended.
  4. Stir in chocolate chips by hand, as well as the bourbon-soaked pecans or walnuts, if desired. I soaked my pecans overnight by spreading them out in a small, plastic, food container and pouring a thin layer of bourbon in the bottom.
  5. Spread the batter evenly into the prepared pan.
  6. Bake for 18-22 minutes until the edges look cooked and start to pull away from the pan.
  7. Let cool and then cut into squares (or if you’re impatient like me, go ahead and scoop some out into a bowl, smother with chocolate syrup and ice cream, and dig in while it’s warm).

image1

Recipe adapted from Allrecipes.